Skip to content
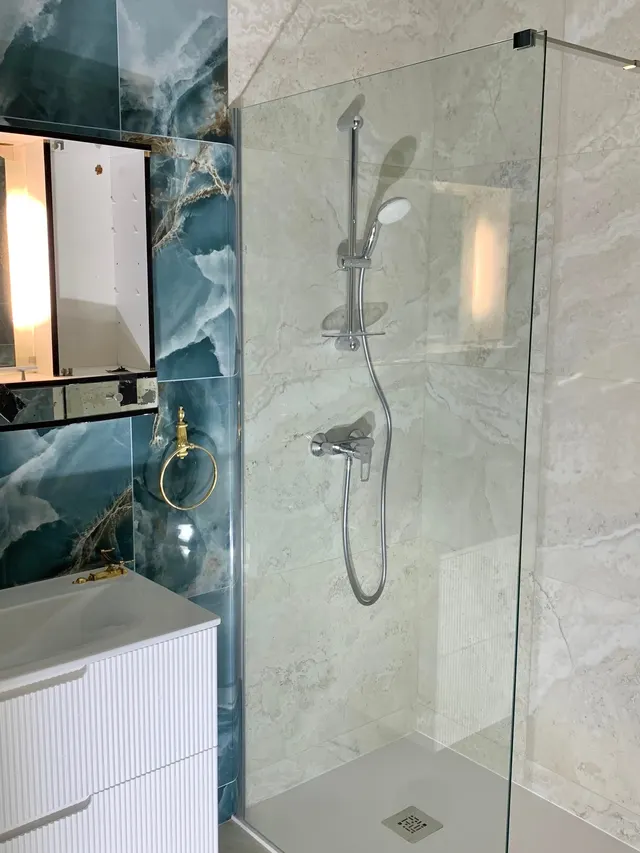
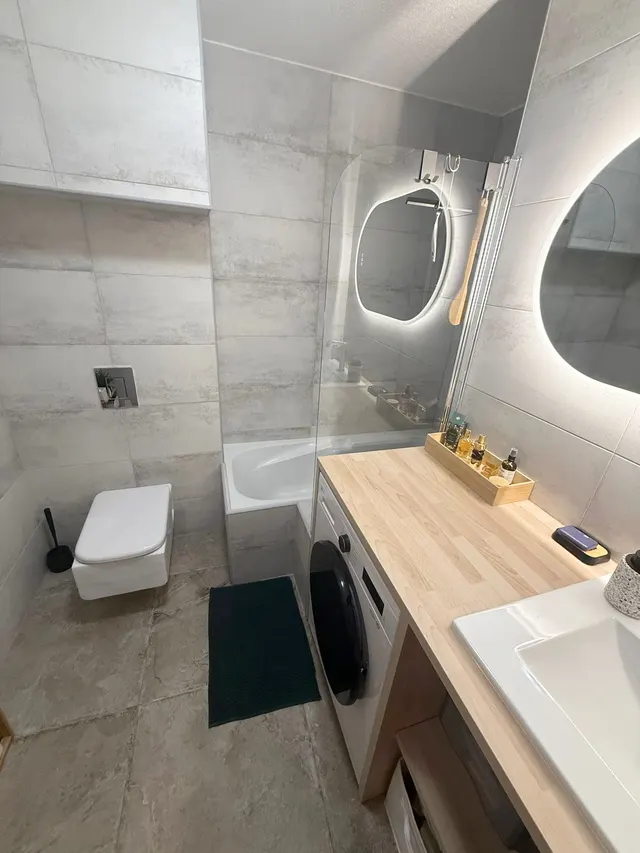
Renovated bathroom: bathtub, wall-hung WC, vanity unit and backlit mirror

Redoing a bathroom

Six square metres, seven trades, thirteen steps. What it really takes.

You
13 – 24 days
Budget
2 500 – 6 000 €
Steps
13

Times and budgets are indicative, for a confident DIYer, surprises excluded.

A bathroom is the smallest room in the home and the job that packs in the most trades. Across four to six square metres: demolition, plumbing, electrics, masonry, waterproofing, tiling, fitting out. Each trade waits for the one before it to finish — and above all, to dry.

It is the drying that sets the calendar, not your energy. A levelling compound can be covered after 24 to 48 hours, a liquid waterproofing membrane needs two coats with a wait between them, the adhesive hardens for a day before grouting, and the grout waits again before the first shower.

Then there are the lead times: a made-to-measure vanity unit or large-format tiles are ordered weeks ahead, and the job stops at the first missing item. For all that time the house has no bathroom — and that constraint is what decides most people.

The steps

1
/13

Measure, draw, order

Estimated time 0.5 – 1 days

Survey the room to the centimetre, bulkheads included, then place every fixture with its real clearances: a shower door has to open, a wall-hung WC swallows 20 cm. Order everything before you break anything, with 10 % extra tiles.

Tools

  • tape measure
  • laser distance meter
  • dimensioned plan

What goes wrongOrdering the tiles after the demolition. Six weeks of lead time, with the room stripped bare.

2
/13

Water off, power off, everything protected

Estimated time 0.5 days

Close the main stopcock, drain down, switch the circuit off at the consumer unit and check there is no voltage. Find where the waste stack runs: it decides what you are allowed to move. Protect the hallway — tile dust travels.

Tools

  • voltage tester
  • adjustable spanner
  • dust sheets and site tape

What goes wrongSwitching off the lighting but not the sockets. One blow of the chisel into a live conduit takes out the whole flat.

3
/13

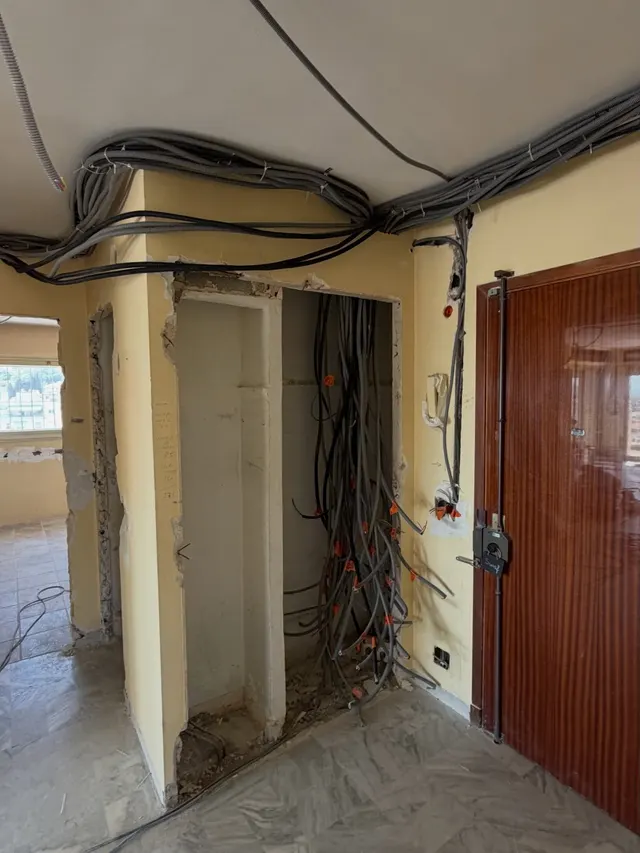
Strip out what is there

Estimated time 1.5 – 3 days

Sanitaryware, units, wall tiles, then the floor tiles. Wall tiles bonded onto plaster come away with the plaster: plan on rebuilding the walls, not just stripping them. The least technical step, and by far the noisiest.

Tools

  • breaker drill (hired)
  • angle grinder and diamond blade
  • site vacuum
  • FFP3 mask and goggles

What goes wrongPulling off the wall tiles and finding a 5 cm plaster partition behind. It has to be rebuilt in full before you can tile again.

Old bathroom being stripped out, wall tiles torn off and walls back to bare
4
/13

Get the rubble out

Estimated time 0.5 – 1 days

A 5 m² bathroom easily produces a tonne of rubble: in 25 kg bags that is forty trips up and down, and a recycling centre will not take an unlimited volume. Check the rules of the copropriété (co-owned building) before you use the lift.

Tools

  • heavy-duty rubble sacks
  • sack truck
  • lift protection

What goes wrongLoading the lift beyond its rated capacity. The repair and the downtime are billed to the owner concerned.

Lift car protected with cardboard before the rubble is carried down
5
/13

Rework the plumbing

Estimated time 1.5 – 3 days

Supply pipes first: press-fitted multilayer, run in conduit, with outlets positioned to the millimetre against the tiling to come. Wastes next, with a steady fall all the way to the stack. Pressure-test before you close anything up, and let it hold for several hours.

Tools

  • press tool (hired)
  • multilayer pipe cutter
  • test pump (hired)
  • hole saw

What goes wrongA shower waste with too little fall. The water sits there, and the repair means lifting the tray and the tiling again.

Bathroom stripped back to bare walls, pipework exposed
6
/13

Rework the electrics inside the zones

Estimated time 1 – 2 days

A bathroom is divided into zones by NF C 15-100 (the French electrical standard), and each zone allows or forbids a type of equipment. On top of that come 30 mA residual current protection and local supplementary bonding. Here the rule is not up for discussion.

Tools

  • wall chaser (hired)
  • ICTA conduit and back boxes
  • multimeter

What goes wrongA socket set too close to the shower. Non-compliant, invisible once tiled over, discovered at the first inspection.

Double socket fitted on the tiling beside a vanity top
7
/13

Partitions, moisture-resistant linings, WC frame

Estimated time 1 – 2 days

Walls that will get wet are rebuilt in moisture-resistant boards on a metal frame. The frame for a wall-hung WC is fixed to the floor and to a load-bearing wall, never to the partition alone. Everything has to be plumb: tiling corrects nothing, it reveals everything.

Tools

  • cordless screwdriver
  • 2 m straight edge
  • laser level
  • track and studs

What goes wrongA WC frame fixed to a lightweight partition. It shifts within months and the tiled boxing has to be opened up again.

8
/13

Prepare the floor

Estimated time 0.5 – 1 days

A bathroom floor has to be flat, clean and dry. Depending on the substrate, that means anything from a self-levelling compound to a mortar fall formed for a walk-in shower. Primer is not an option: without it the levelling compound blisters.

Tools

  • paddle mixer on a drill
  • smoothing trowel
  • primer roller
  • straight edge

What goes wrongLevelling over a dusty substrate. The floor sounds hollow six months later and the tiles crack.

9
/13

Waterproofing under the tiles

Estimated time 0.5 – 1 days

Tiles are not waterproof: the grout lets moisture through. It is the layer underneath — two coats, corner tapes, collars at every penetration — that protects the structure. The only completely invisible step, and the only one whose failure is paid for at the neighbour's below.

Tools

  • roller and cutting-in brush
  • waterproofing tapes and corners
  • pipe collars

What goes wrongLeaving out the corner tape between floor and wall. The water goes through exactly there, and the leak appears on the ceiling downstairs.

10
/13

Lay the floor and wall tiles

Estimated time 3 – 5 days

Start from a drawn setting-out: where the courses begin, where the cuts fall, how the wall lines up with the floor. Back-buttering for large formats, levelling clips, a level check every two tiles. This is the longest step.

Tools

  • electric tile cutter (hired)
  • notched trowel
  • levelling clips
  • laser level

What goes wrongStarting without a marked starting line. The last row finishes as a two-centimetre wedge, visible from the doorway.

Large-format tiling from floor to ceiling with a heated towel rail, finished bathroom
11
/13

Grout, silicone and drying

Estimated time 0.5 – 1 days

Grout with a float, sponge off before it hardens, then sanitary silicone in every internal angle: angles are never filled with cement grout, they move. Then you wait — no water until the manufacturer's time has passed.

Tools

  • grout float
  • tiler's sponge
  • silicone gun

What goes wrongCleaning the grout too late. The cement haze then only comes off with acid, which attacks fresh grout.

12
/13

Fit the fixtures and the taps

Estimated time 1.5 – 3 days

Vanity unit, WC, shower tray, mixers, shower screen. Every hole you drill goes through a surface you have just tiled, and therefore through the waterproofing: the right bits, slow speed, silicone in each hole before the wall plug.

Tools

  • variable-speed drill
  • ceramic drill bits
  • spirit level
  • silicone sealant

What goes wrongDrilling wall tiles on hammer setting. The tile shatters, and replacing it means breaking the tiles around it.

Made-to-measure vanity unit with integrated washing machine and backlit mirror
13
/13

Ventilation, finishing, first water

Estimated time 0.5 – 1 days

Without extraction, a new bathroom goes mouldy in one winter. Check the flow rate of the mechanical ventilation, paint the ceiling with a paint made for damp rooms, refit the accessories. Finish with a full water test, then look at the ceiling below the next morning.

Tools

  • roller and brush
  • paint for damp rooms
  • a sheet of paper to test the extraction

What goes wrongBlocking the air vent while redoing the ceiling. The grout darkens and the new tiling stains within months.

Do it yourself, or have it done

  • You can do this
  • Better left to a pro
  • Regulated by law
  • You can do thisStripping out sanitaryware and wall tilesPhysical and messy, with no technical risk as long as the water and the power are off.
  • You can do thisCarrying the rubble outTime, permitted access and a recycling centre that will take the volume.
  • Better left to a proWater supply pipes and pressure testA bad press fitting does not leak straight away: it leaks once the wall is closed up.
  • Better left to a proWastes and connection to the stackFall and diameter cannot be corrected afterwards; the mistake only shows in use.
  • Regulated by lawCircuits, 30 mA RCD, supplementary bondingNF C 15-100 imposes the zones, the RCD and the bonding in a bathroom.
  • Better left to a proWaterproofing under the tilesInvisible once laid, impossible to check afterwards, and the cause of damage at the neighbour's.
  • Better left to a proFitting the frame of a wall-hung WCIt carries a person's weight on a cantilever: everything depends on the real substrate.
  • Better left to a proLarge-format floor and wall tilingLarge formats demand a flatness that an old room almost never has.
  • You can do thisFitting the unit, the mirror and the accessoriesWithin reach with the right drill bits, and recoverable if a hole ends up off centre.
  • Regulated by lawMoving the shower or the WC out of its zoneTouching a shared waste stack falls under the rules of the copropriété.

You or Zenith

You

  • 13 to 24 days of actual work, spread over much longer because of the drying times
  • €2,500 to €6,000 of materials, consumables and tool hire (indicative)
  • No recourse if the waterproofing fails and the water damage reaches the flat below
  • A bathroom out of service for the whole length of the job
  • Seven trades, the deliveries and the rubble to coordinate on your own

Zenith

  • Free quote within 48 h
  • One contact from floor to ceiling
  • Price agreed before work starts

Price range

  • Loading…
  • Loading…

Range excl. VAT — VAT varies with the type of work

Indicative range, not contractually binding.

This estimate is not a quote: the final price is set with you, after a site visit.

Common questions

How long does it take to redo a bathroom?

On your own, thirteen to twenty-four days of actual work, spread over six to ten real weeks: drying and delivery times impose pauses that nothing shortens. A team running the trades back to back changes the calendar, not the number of hours.

Do you need permission to redo a bathroom in a flat?

As long as you stay inside the flat, without touching load-bearing walls or shared stacks, no planning formality is needed. As soon as you alter a shared waste pipe or the façade, it goes through the copropriété and, for the façade, through a déclaration préalable (prior works declaration). If in doubt, check with the mairie (town hall).

Can you tile over the old tiles?

Technically yes, if the old tiling is perfectly sound, degreased and primed. But you lose height, the thresholds change, and you can no longer put proper waterproofing underneath. In a bathroom, that is rarely the right call.

In what order should the work be done?

Strip out, clear the rubble, plumbing, electrics, partitions, floor preparation, waterproofing, tiling, grouting, fixtures, ventilation, finishing. This is not a matter of taste: each step closes the previous one for good.

Can the WC or the shower be moved?

What decides is the distance to the waste stack and the fall available. A few dozen centimetres often works; changing wall means a study, sometimes a macerator, sometimes a no. Ask the question before you draw a layout.