Skip to content
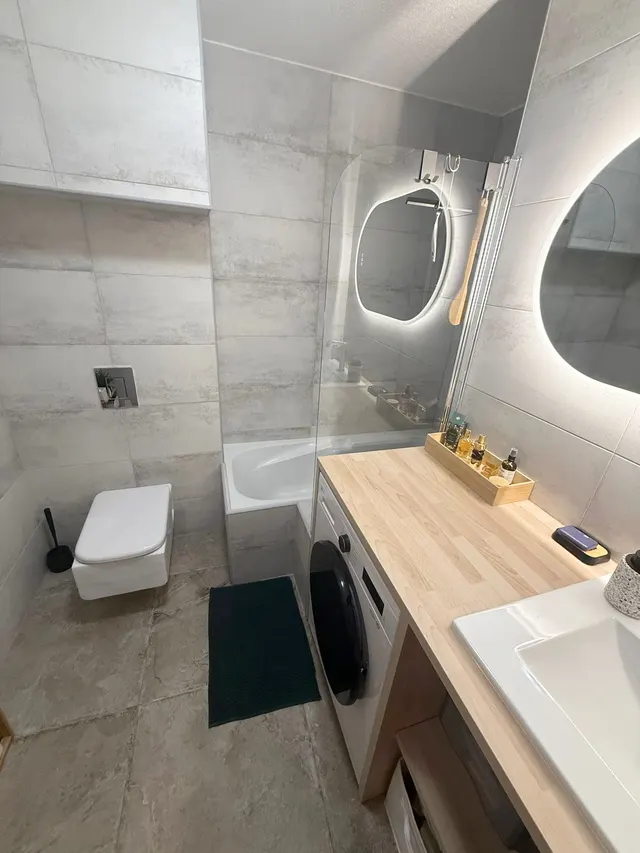
Finished shower with a low-profile tray, glass screen and taps fitted.

Replumbing a home

What you can see takes two days. What is inside the wall decides everything.

You
6 – 14 days
Budget
900 – 2 200 €
Steps
12

Times and budgets are indicative, for a confident DIYer, surprises excluded.

Plumbing is the only trade whose mistakes are discovered at somebody else's place. A badly pressed fitting behind new tiling, a waste run falling the wrong way under a screed: none of it shows on the day it is installed. It shows six weeks later, on the ceiling of the flat below.

The order is imposed by physics. Water arrives under pressure and will follow almost any route. Waste water, on the other hand, runs by gravity: the position of the stack and the fall available — of the order of 1 to 3 cm per metre — decide where the WC, the shower and the sink can go. You draw the layout from the waste outlet, never from the tiles you have chosen.

In a copropriété (co-owned building) the line is clear: your own pipework belongs to you, the soil stack and the ventilation ducts are common parts. Plan the water shut-offs, the draining down and the pressure tests before you close anything up. A wall closed too early is a wall to open again.

The steps

1
/12

Understand the installation before touching it

Estimated time 0.5 – 1 days

Record what is there: pipe materials, diameters, position of the stack, ventilation, where the water heater sits. Old galvanised steel changes the whole project. Photograph everything, including what you intend to demolish: those photographs will be worth gold in two weeks.

Tools

  • tape measure
  • torch
  • camera
  • survey notebook

What goes wrongConnecting new copper to old galvanised steel with no dielectric fitting. Corrosion eats through the joint within a few years.

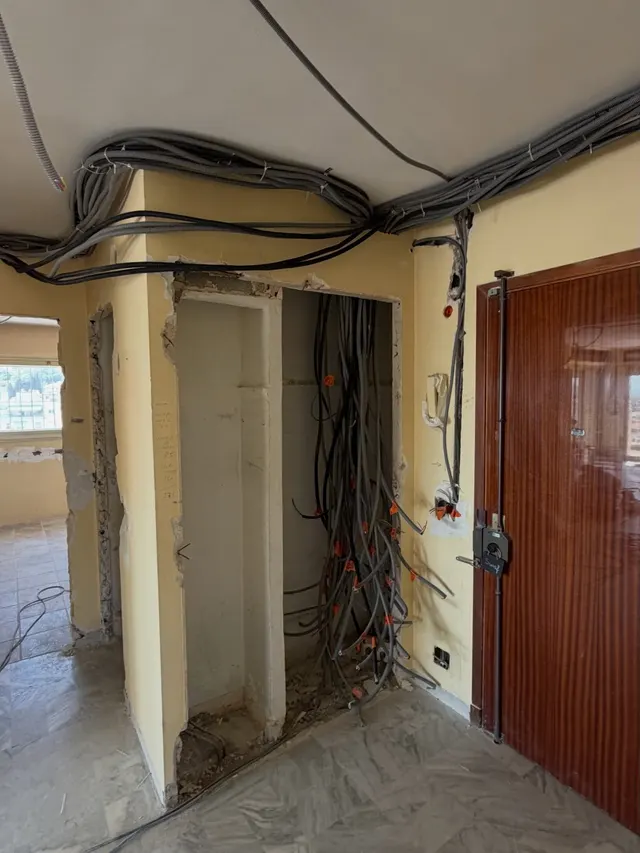
Old bathroom in a flat in Nice before works, original sanitaryware.
2
/12

Find the main valve and the shut-offs

Estimated time 0.5 days

First of all: where do you turn the water off, and does that valve still close? Many old stopcocks no longer shut fully. Locate the meter, the valve on the riser and the breaker for the water heater — and test them in advance, not in an emergency.

Tools

  • adjustable spanner
  • pipe wrench
  • buckets
  • floor cloths

What goes wrongThe main valve breaks as you operate it. You then have to shut the whole riser down, which means the water for the entire building.

3
/12

Draw the layout from the waste outlet

Estimated time 1 – 2 days

You place the WC first, then the shower, then the basins, according to the stack and the fall available. Usual diameters: 32 mm for a basin, 40 mm for a shower, a sink or a machine, 100 mm for a WC. Every bend and every extra metre eats into the height you have.

Tools

  • dimensioned plan
  • level
  • 2 m straight edge

What goes wrongThe WC is moved three metres with not enough fall. The floor of the whole room has to be raised.

4
/12

Check what belongs to the co-owners

Estimated time 0.5 – 1 days

The soil stack, the primary ventilation and the pipes buried in the common parts are not yours. Connecting to them anywhere other than the existing branches, or altering them, needs the agreement of the general meeting of the co-owners. Tell the syndic (building manager) about any planned water shut-off.

Tools

  • copropriété rules
  • syndic contact

What goes wrongA stack altered without agreement. Putting it back is required, at the owner's expense.

5
/12

Isolate, drain down, strip out

Estimated time 1 – 2 days

Water off, system drained from the lowest point, then out come the sanitaryware, the taps and the old pipework. An old system always holds more water than expected, and it ends up on the floor if the buckets are not already in place.

Tools

  • pipe wrench
  • reciprocating saw
  • pipe cutter
  • buckets and dust sheets
  • rubble sacks

What goes wrongSawing through a pipe that is still charged. The room and the floor below take the water within minutes.

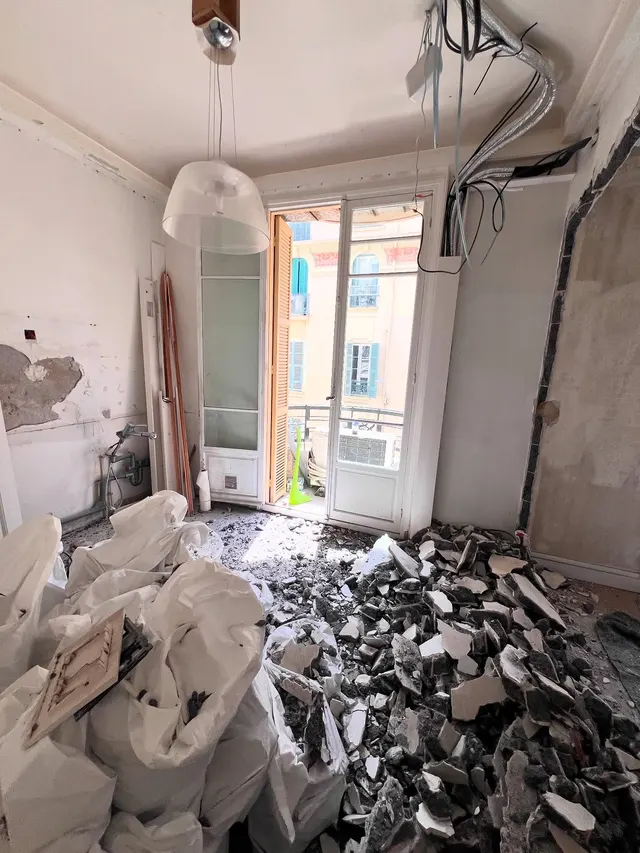
Bathroom stripped back during the removal, old pipework exposed.
6
/12

Chase the walls and drill the passages

Estimated time 1 – 3 days

Chases are set out, cut with a wall chaser and cleared with a chisel — in a partition, never in a structural element without advice. A pipe going through a beam in the wrong place becomes a structural problem, not a plumbing one.

Tools

  • wall chaser (hired)
  • breaker
  • hole saw
  • site vacuum
  • FFP3 mask
  • goggles

What goes wrongA horizontal chase cut too deep in a load-bearing wall. You weaken the wall to gain two centimetres.

7
/12

Install the wastes with the right fall

Estimated time 1 – 2 days

Solvent-welded PVC, a steady fall of 1 to 3 cm per metre, clips roughly every 50 cm, 45° bends rather than 90°, traps everywhere and an accessible rodding point. You check the flow with a bucket before closing anything up.

Tools

  • PVC saw
  • solvent cement
  • precision level
  • pipe clips
  • cleaner

What goes wrongA few millimetres of reverse fall. The water sits there, it smells, and the only repair is to open the floor again.

8
/12

Run the supply in multilayer or PE-X

Estimated time 1 – 3 days

Manifold distribution or branches, conduit over the buried sections, no joint buried in a wall, hot and cold clearly identified. Pressing needs the right tool, the right insert and a visual check on every fitting: there is no second chance.

Tools

  • press tool (hired)
  • pipe cutter
  • bending tool
  • conduit
  • pipe clips

What goes wrongA fitting pressed with no insert, or not pushed fully home. It holds at the test pressure, then lets go six months later, inside the wall.

9
/12

Pressurise and hunt for the leak

Estimated time 0.5 – 1 days

Before closing up: fill, bleed, pressurise and leave the system under watch for several hours, with the fittings accessible and dry. One drop an hour becomes a stain on the neighbour's ceiling within a month. This step is short, and it is the one everybody skips.

Tools

  • test pump (hired)
  • pressure gauge
  • absorbent paper
  • torch

What goes wrongThe wall is closed and tiled before the test. The leak appears afterwards, and new tiling gets broken to find it.

10
/12

Fit the WC frame and the wet points

Estimated time 1 – 3 days

The frame is fixed to the floor and to the wall, perfectly plumb, with the opening for the flush plate. For a walk-in shower: a tray or a formed fall, then a waterproofing system under the tiles. It is that invisible waterproofing which protects the floor below.

Tools

  • hammer drill
  • level
  • fixings suited to the substrate
  • waterproofing kit
  • sanitary silicone

What goes wrongA WC frame plugged into a lightweight partition. The WC moves in use and ends up cracking the tiling.

Wall-hung WC and flush plate fitted in a renovated bathroom.
11
/12

Connect the washing machine, dishwasher and water heater

Estimated time 1 – 2 days

A dedicated isolating valve, a waste connection at the right height, new hoses you can read. A water heater needs a support that will carry its weight full of water, a safety group piped to the waste, and a compliant electrical supply. A utility area is planned at the same time as the bathroom.

Tools

  • open-ended spanners
  • PTFE tape or hemp
  • level
  • hammer drill

What goes wrongThe safety group discharging into a bucket "for the time being". The day it really opens, the bucket overflows.

Fitted utility area with a washing machine and tumble dryer, project in Menton.
12
/12

Close up, tile, fit the taps

Estimated time 2 – 4 days

Fill the chases, boards, waterproofing, tiling, then taps, wastes and silicone last. You refill slowly, bleed, check every fitting a second time — and walk round again the next day: many leaks only declare themselves on day two.

Tools

  • sealant gun
  • sanitary silicone
  • adjustable spanner
  • spare washers and seals
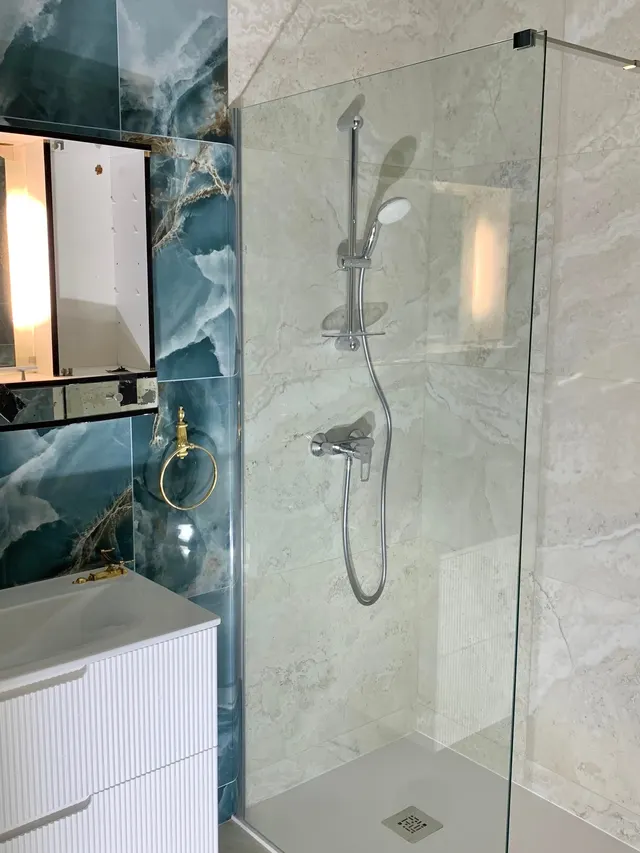
Finished shower with the riser and mixer fitted, renovated flat in Nice.

Do it yourself, or have it done

  • You can do this
  • Better left to a pro
  • Regulated by law
  • You can do thisReplacing a tap, a hose or a washerEverything is visible and everything comes apart: routine maintenance really is within your reach.
  • You can do thisFitting a vanity unit onto an existing wasteThe connection is exposed and accessible; if it weeps, you see it the same day.
  • Better left to a proCreating or moving a waste runFall, diameters and ventilation decide the result, and the defect can only be corrected by opening the floor.
  • Regulated by lawWork on the soil stackIt is a common part: with no agreement from the general meeting, putting it back is at your expense.
  • Regulated by lawAny work on a gas installationReserved to a professional, with a certificate of conformity endorsed by an approved body before it is put back into service.
  • Better left to a proPressed supply pipework buried in the wallsA fitting that is not fully engaged holds at the test, then lets go inside the wall, behind new tiling.
  • Better left to a proWaterproofing the shower before tilingInvisible once tiled over, and it alone protects the home below.
  • Regulated by lawSockets, lighting and towel rail in a bathroomNF C 15-100 (the French electrical standard) imposes safety zones, and a rebuilt installation needs a certificate endorsed by Consuel (the electrical conformity body).
  • Better left to a proFitting and connecting a water heaterWeight when full, safety group and electrical supply: three risks combined in one appliance.

You or Zenith

You

  • 6 to 14 days of your time, plus the days with no water
  • €900 to €2,200 of supplies, tools and hire (indicative)
  • No recourse if a leak appears behind new tiling
  • The water damage at the neighbour's, to carry on your own
  • The co-ownership formalities and the coordination with the electrics and the tiling
  • A bathroom out of service for the whole length of the job

Zenith

  • Free quote within 48 h
  • One contact from floor to ceiling
  • Price agreed before work starts

Price range

Quoted per project

Common questions

Can you do your own plumbing?

Nothing forbids it on your own private pipework, gas excepted. The real question is the risk: a mistake on water under pressure, or on the fall of a waste, is paid for in water damage, at your place and at the neighbour's. Stripping out and exposed connections are the most approachable parts.

Does the whole building have to lose its water?

No, if your home has a private isolating valve in working order — check it beforehand. Shutting down the riser affects the whole building and goes through the syndic, with notice to the occupants. That is the kind of shut-off you plan, not one you improvise on a Saturday.

How long do you go without water during the works?

On your own, count on several days with no usable water point in the room concerned, and a few hours to a day with the whole home shut off at each phase. Have a fallback arranged if it is your only bathroom.

In what order: plumbing, electrics, tiling?

Demolition, then wastes, then supplies and electrics, pressure test, filling in, waterproofing, tiling, and finally taps and sanitaryware. Tiling before the pressure test is the most expensive sequencing mistake in the trade.

Can a WC be moved anywhere?

No. The distance to the stack and the fall available govern everything: beyond a few metres you have to raise the floor or use a macerator, which brings its own constraints. It is the waste that draws the room, not the other way round.